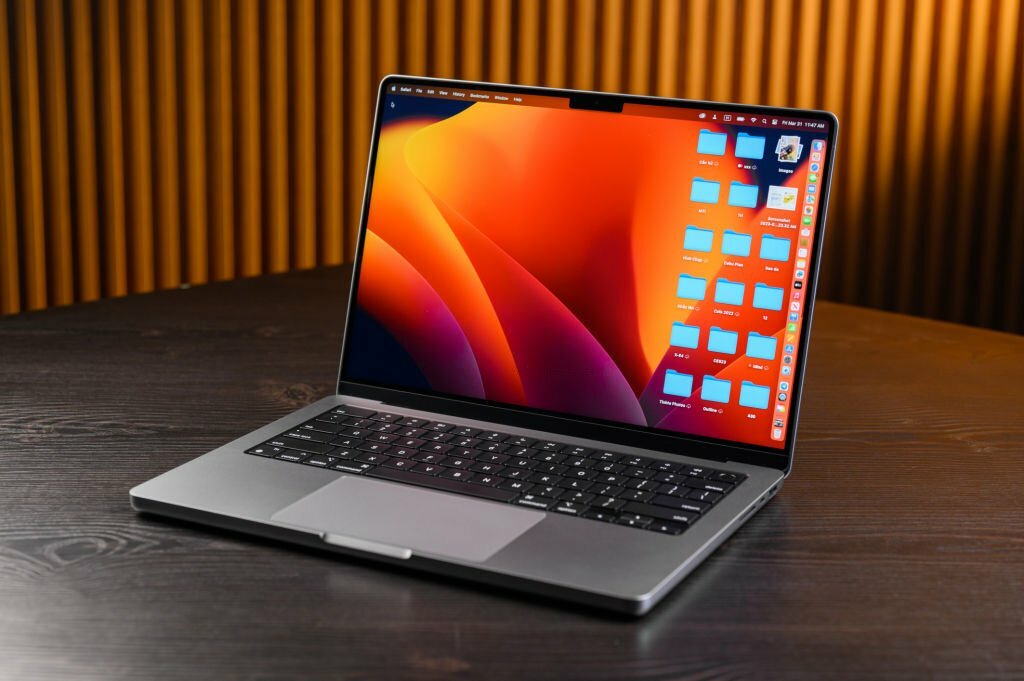
Introduction: How to take Screen Shot in MAC
Screenshots are incredibly useful for a variety of purposes, whether you need to capture a funny meme, save important information from a website, or create a quick tutorial. If you’re a Mac user, you’re in luck because macOS offers a variety of options for taking screenshots, including Screen Shot in MAC. In this blog post, we’ll explore how to take full-screen shots and selective screen shots on your Mac. By the end of this guide, you’ll be a screenshot pro! Check out comprehensive guide on How to take Full Screen Shot & Selective Screen Shot in MAC by TechWrath.
Method 1: Taking a Full-Screen Screen shot in MAC

Full-screen screenshots are perfect for capturing everything on your screen at a specific moment. This is a straightforward process on a Mac.
Step 1: Press Command + Shift + 3
The quickest way to capture the entire screen is by pressing Command (⌘) + Shift + 3 simultaneously. As soon as you do this, your Mac will capture a screenshot of your entire screen and save it to your desktop.
Step 2: Locate Your Screenshot
Your screenshot will be automatically saved to your desktop with a file name like “Screen Shot [Date] at [Time].” You can click on the file to view it or move it to another location.
Part 2: Taking a Selective (Partial) Screenshot
Sometimes, you may only want to capture a specific portion of your screen. Mac offers several methods to capture selective screen shots.
Method 1: Capture a Specific Area
If you want to capture a specific area, follow these steps:
Step 1: Press Command + Shift + 4
Press Command (⌘) + Shift + 4 simultaneously. Your cursor will change to a crosshair pointer.
Step 2: Select the Area
Click and drag your mouse to select the area you want to capture. As you drag, you’ll see the dimensions of the selected area.
Step 3: Release the Mouse
Release the mouse button to take the screenshot. The screenshot will be saved on your desktop.
Method 2: Capture a Specific Window
If you want to capture a specific window or application, follow these steps:
Step 1: Press Command + Shift + 4 + Spacebar
Press Command (⌘) + Shift + 4 + Spacebar simultaneously. Your cursor will change to a camera icon.
Step 2: Click on the Window
Click on the window or application you want to capture. Your Mac will capture the window along with its shadow.
Step 3: Locate Your Screenshot
Your screenshot will be saved on your desktop as usual.
Customizing Your Screenshots
You can further customize your screenshots by holding down certain keys while taking them.
- Hold the Control key (Ctrl) to copy the screenshot to your clipboard instead of saving it to your desktop.
- Hold the Shift key to lock the aspect ratio when selecting an area to capture.
- Hold the Option key (Alt) to capture the selected area from its center.
- Press the Spacebar while selecting an area to move the entire selection.
Changing the Screenshot File Format
By default, Mac saves screenshots in the PNG format. If you prefer a different format, you can change it.
Step 1: Open Terminal
Go to Applications > Utilities > Terminal.
Step 2: Enter the Command
To change the file format, enter one of the following commands:
- For JPEG format:
defaults write com.apple.screencapture type jpg - For TIFF format:
defaults write com.apple.screencapture type tiff - For GIF format:
defaults write com.apple.screencapture type gif - For PDF format:
defaults write com.apple.screencapture type pdf
Step 3: Restart SystemUIServer
To apply the changes, you need to restart the SystemUIServer. Enter the following command:
killall SystemUIServer
Step 4: Take a Screenshot
After making these changes, when you take a screenshot, it will be in the format you specified.
Conclusion
Taking full-screen and selective screenshots on your Mac, including Screen Shot in MAC, is a simple yet powerful feature that can be incredibly handy in various situations. Whether you need to capture a webpage, create tutorials, or save important information, these methods, including Screen Shot in MAC, will help you become proficient at capturing the content you want with ease. Remember, you can also customize your screenshots by holding down certain keys or changing the file format, making it even more convenient for your needs. So, go ahead and start taking those screenshots like a pro with Screen Shot in MAC!


